Showing posts with label laundry room. Show all posts

Saturday, April 13, 2013

Organizing the laundry/craft/homeschool resource room Update!

You may remember when I first started this blog, it was about decluttering. Remember the laundry room?


Remember the blanket over the bookshelves?

Want to see what's under it today?


TADA!


I love the plastic shoe boxes. I wrote on an index card what was in the box and voilĂ ! instant organization.


I love how I can grab a box or two of what I need and go. Then when we're done, it goes right back into it's home and the blanket covers it back up again.

Now to keep my 3 year old artist out of it is another story...

With Love,
Emily

Wednesday, April 11, 2012

Part one- Project #3- The Laundry Room Bench

Hi again everyone! This is only part one of the bench, because even though I had high hopes of completing it all today, it didn't happen. And that is life, and if it happens to you, don't let it get you down. There really is a tomorrow, and if tomorrow isn't coming, then it doesn't matter that we didn't finish the project. 

So here we go!

Step 1: Take everything off of the bench.


Step 2: Take the bench pad outside and beat the dust out of it.

And then have a seat and dangle your feet for a little bit. Feel like a kid again. :o)


Step 3: Take everything out of the cubbies. The charcoal will be making it's way to it's new home in the shed and the bag of rice there is actually a bag of a whole lot of homemade rice compresses. A project I should finish and sell at the market.


Step 4: Get the Windex. Or Pledge. Probably not the vinegar spray though.

This is faux wood and vinegar is pretty harsh to it, so be careful and do a test spot if you aren't sure.

These are the upper cubbies. I plan on putting the tempera paints up here. Daughter LOVES to paint, and once she figures out how to open one of those bottle, Heeeoooweee! There'll be paint from this side to the other side of town.


My next step is to declutter all of the stuff I took out of the laundry room. I wasn't able to get to it in a timely manner, and I burned my poor little pointer (and mouse clicker) finger frying up french fries for dinner (that oil is HOT) So I'm going to rest it for the night and finish the job in the morning.

I can't wait to show you how beautiful the bench will look once I'm done! 

Until tomorrow!
With Love,
Emily

Thursday, April 5, 2012

Part 2 of Project #1- Declutter

Here we go! Declutter time!!

Step 1: Get ready with a couple of bags. 

One for trash and one for give away. You can do another one for items you want to sell, but in all honestly for me, I'll never find time to sell. It'll end up just sitting there cluttering my home. So I get rid of it, or find a home for it in the house.


Step 2: Categorize the contents

I found that tip from 

Top Five Organizing Mistakes - with Gayle Goddard, the Clutter Fairy

So that's what I did. And when you do that you suddenly have an easier way of seeing what you have and you can easily knock out a pile of like things, instead of switching tracks in you brain the whole time. 

So for me, I gave away all of the dolls except for two of them, because they are from my childhood and I want to give them to my kids. 

Out of this pile all I kept was the 2 dolls, the box of jewelry I made, the purple sketch pad and the green blanket.


Which I immediately found a use for! Looks better already, and we haven't even organized underneath yet!


Step 3: Repeat repeat repeat step 2 until you have got through all the boxes, bags and what not. 

Remember to not think too hard about what you are going through. It's just stuff. It feels good to have it, but keep in mind what you want your home to look like. When you put something in the keep pile, have an idea where it's home is going to be.  

So during this process of purging try really hard to give/throw away 2/3s or more than what you keep. Think of it as throwing away your past hurts and fear. When you give something away, think of it as putting a smile on someones face, making the world a little bit happier. 

******

You are becoming a stronger person with each discarded item. Can you just feel the light of healing beaming on you? It's like stepping out in the warm sunshine after sitting in a really cold building. Gives me warm fuzzies.

******

Oh, and since I took everything off of the laundry room floor, I went ahead and put the 4 bags of canned goods that I had on the floor away.

Looks pretty doesn't it?


There you have it! Now don't worry if you can't put away everything that's in your keep pile right away. We're going to go through the keep pile later when we are putting the stuff in their homes and we are going to try to pair down, give/throw away again. Trust me, you will thank me later. Just put what you want to keep in a box and set aside. 

Until the next project, take care!

With Love,
Emily

Project #1 The mud room floor.

Now I don't know about you, but I LOVE LOVE LOVE! seeing before and after pictures. As much as I hate for anyone to see my clutter, I'm sharing because I want you to see you are not alone! 

I also believe in doing projects and not whole rooms. I get overwhelmed! Seeing the whole room as a total and thinking "I have to clean the whole thing... By. My. Self." quickly sucks any motivation I had when I walked into the room. My hubby cleared that up for me one day by suggesting I do projects! (duh! Why didn't I think of that!?). 

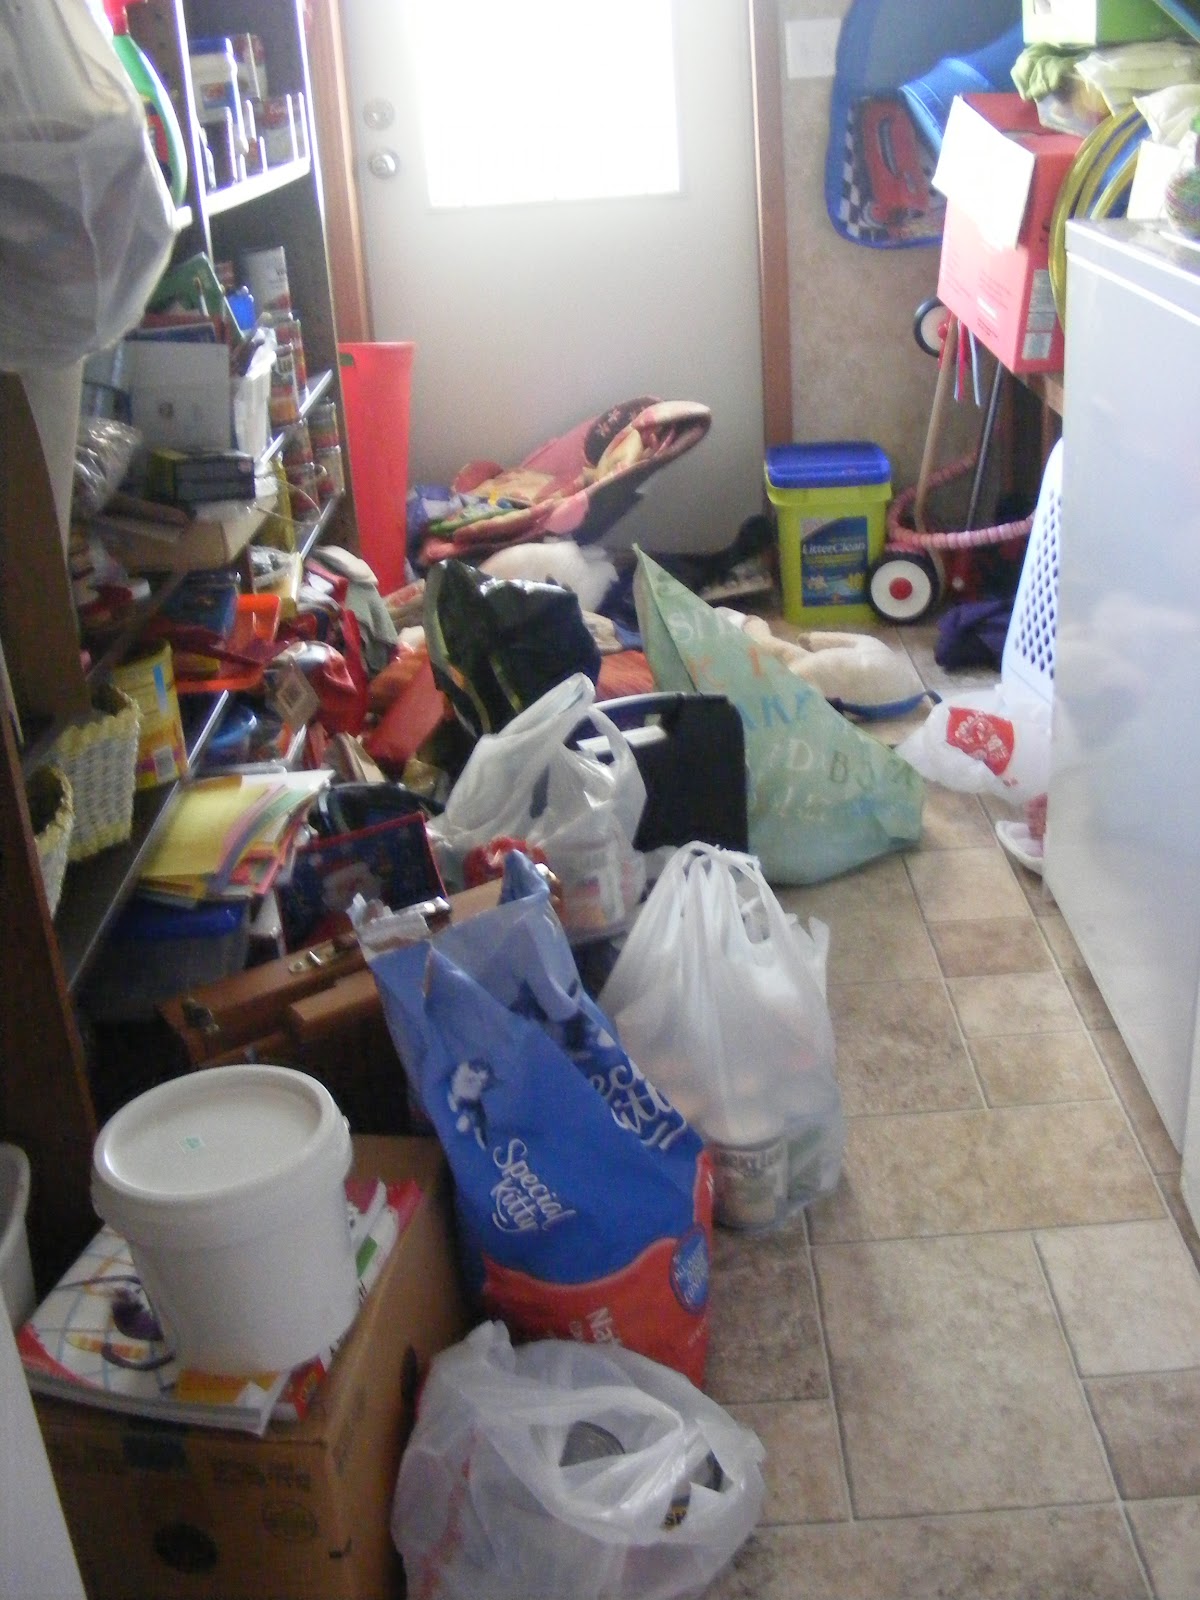
So here is my first project. The laundry room. (I know, didn't she just say not the whole room?) Yes, I did, and I mean it. My laundry room actually has several projects to do.

The Floor


The shelves. Crafts and canned goods.


The washer and dryer.


And the bench. Yes, there is a bench there!

Today I'm starting with the laundry room floor. Can't do anything else until I can walk through the room! The stuff on the floor has been sitting there for about a year. Clutter always starts off small like a little bitty baby, and it grows and grows without you even realizing it, until one day it's a big fat elephant sitting there!

***************

Step 1: Remove large items. 

I removed all the big boxes and threw out the cardboard.

Step 2: Bag up loose items and take everything out off of the floor.


Step 3: Discover cubbie holes in bench!

Told you I had a bench! We're going to clear out the cubbies when we clear off the bench area. But that's a project for later.


I wanted to show you, I haven't actually decluttered a darn thing yet. All I've done thus far is move everything to the table and threw out cardboard and obvious garbage. We're gonna declutter this in a little bit. :o)


Step 4: Get the mop... and the broom.

I love my shark steamer. I try to use the least amount of chemicals in my house as far as cleaning goes. Mostly because my daughter has eczema from birth and we didn't know what was triggering it. So the chemicals went out first. AAAnnnd, I'm Fricken Frugal. The Shark uses just water and steams your floors clean!
(oh and if you have hard water like me, PLEASE use distilled water, not tap. The minerals in the tap water will ruin your equipment quicker than a flea jumping up to bite you in the knee.)


Step 5: Admire

Be in awe! You've done a great job! Get some socks on and slide across your floor. It looks beautiful!

My family is now safer because the exit to the outside world is free and clear. I can easily do laundry and I have all the access I need to the canned goods and the crafts. It took me about 30 minutes to remove and clean everything.


How have you done? Did you get your laundry room floor clean too? I would love to see your before and after pictures! Share your success! You are one step closer to being free.

And now, time to go through the boxes. Stay tuned!

With Love,
Emily